Maximizing your experience with zero choices. #
I’m publishing this blog post in partnership with the Trino community to go along a lightning talk I’m giving for their event, Cinco de Trino. This article was originally published on Abhi’s Medium site
“My data is all over the place and attempting to analyze or query it is not only time consuming and expensive, but also emotionally taxing.”
Maybe you haven’t heard those exact words before, but data consolidation is a real problem. It is common for organizations to have correlated data stored in various silos or APIs. Performing consistent operations across these various data sources requires understanding both architecture and surgery, skills that you may not have picked up as a data practitioner. If you’re part of the Trino community and are reading this post, you’ve likely encountered unperformant queries due to unconsolidated data.
In the past, the data engineering world was not graced with the same level of love and tooling as other communities, so we were expected to make do with whatever came our way. In order to perform the wildly basic task of moving our data around, we were asked to tithe large sums of money to the closed-source ELT overlords.
So where does that leave us? Thankfully things have changed, so here’s how you can move all your data to a central location for free (well, minus the infrastructure costs) while making few architectural choices.
The tool #
You don’t have too many choices for FOSS ELT/ETL.
Airbyte has been recently making waves as the main contender for open-source ELT. As of writing this article, it’s only been around for about two years, during which its established itself as one of the fastest growing startups in existence. It requires three terminal commands to deploy and is managed entirely through a UI, so it’s operable by many. It also supports syncing your data incrementally, so you don’t need to resync existing data when you want to sync new data. It is relatively new, so some of the polish that comes with an established project is not there yet. Think of it like a precocious child.
You could use Meltano to take advantage of the large Singer connector ecosystem, but it’s more complicated to set up and is more of a holistic ops platform, which may be excessive for your use case.
You could also use this esoteric project called KETL that is only available at this sketchy SourceForge link. But maybe don’t do that.
For consolidating your data, use Airbyte. It’s straightforward to setup, requires minor configuration, and has tightly scoped responsibilities.

The destination #
Let’s use a data lake. Its unstructured nature leaves more flexibility for purpose and we’ll assume that our data has not been processed or filtered yet.
Data warehouses are more expensive, require more upkeep, and benefit from the ETL paradigm as opposed to ELT. Airbyte is an ELT tool focused mostly on the EL bit, which makes it easier to use with the unstructured data lakes.
Additionally, S3 supports query engines such as Trino, which will allow us to query and analyze our data once its been consolidated. Trino also functions as a powerful data lake transformation engine, so if you’re on the fence due to data malleability, this might help bring you over.
We could use Azure Blob Storage or GCS, but for this tutorial, I’ll be keeping it simple with Amazon S3. If you’ve set up an S3 bucket and IAM, skip the next paragraph.
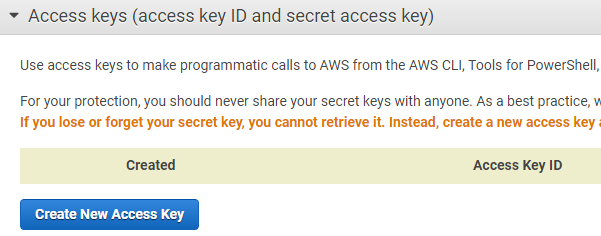
Create a S3 bucket with default settings and grab an access key from IAM. To do this, head to the top right of the screen in the AWS Management Console where it says your email provider and then click on Security Credentials. Click Create New Access Key and save that information for later.
The deployment #
Today, we’ll be deploying Airbyte locally on a workstation. Alternatively, you can deploy it on your own infrastructure, but this requires managing networking and security, which is unpalatable for a quick demonstration. If you want your syncs to continue running in perpetuity, you’ll want to deploy Airbyte externally to your machine. For a guide to deploying Airbyte on EC2 click here. For a guide to deploying Airbyte on Kubernetes, click here.
To begin, install Docker and docker-compose on your workstation.
Then clone the repository and spin up Airbyte with docker-compose.
git clone [email protected]:airbytehq/airbyte.git
cd airbyte
docker-compose up
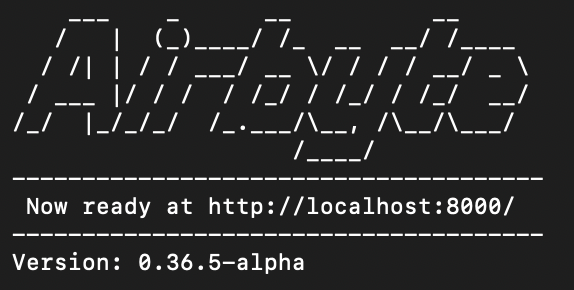
Once you see the following banner, you’re good to go.
The data sources #
Head over to localhost:8000 on your machine, complete the sign-up flow, and you’ll be greeted with an onboarding workflow. We’re going to skip this workflow to emulate a traditional usage of Airbyte. Click on the Sources tab in the left sidebar and click on +New Source. This is where we’ll be setting up all of our disparate data sources.
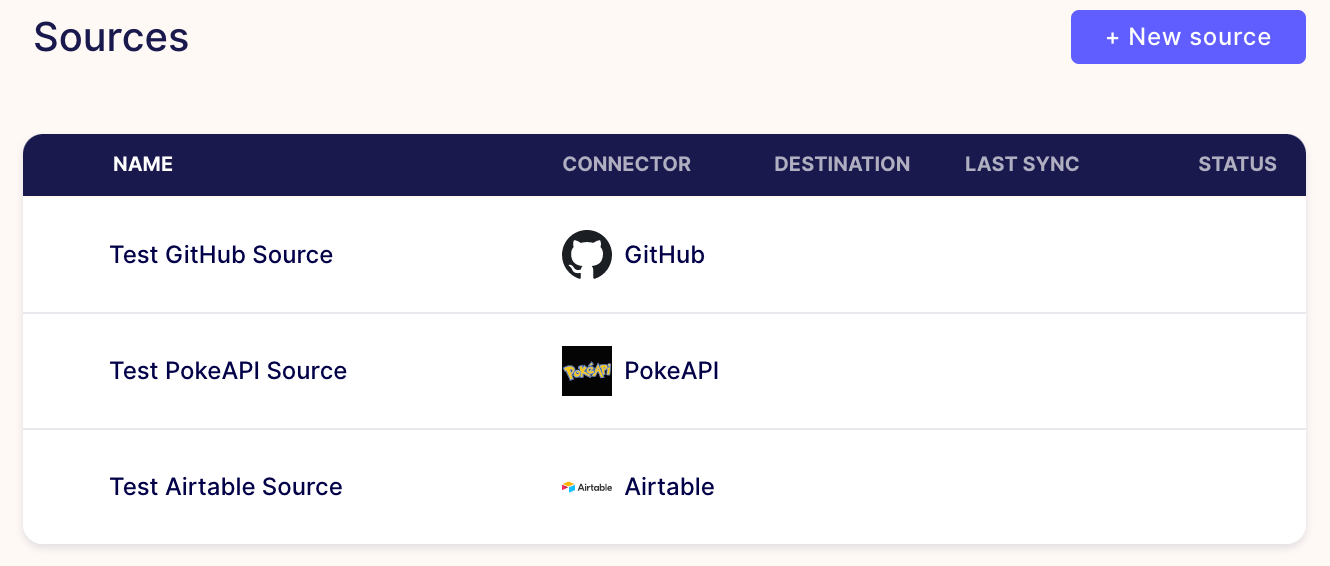
Search for your data sources in the drop down and fill out the required configuration. If you’re having trouble setting up a particular data source, head to the Airbyte docs. There’s a dedicated page for every connector; for example, this is the setup guide for the Google Analytics source. If you’re just testing Airbyte out, use the PokeAPI source, as it lets you sync dummy data with no authentication. If your required data source doesn’t exist, you can request it here or build it yourself by heading here (isn’t open-source great?)
Once you have all of your data sources set up, it will look something like this.
Now we just need to set up our connection to S3 and we are good to go.
The destination (again) #
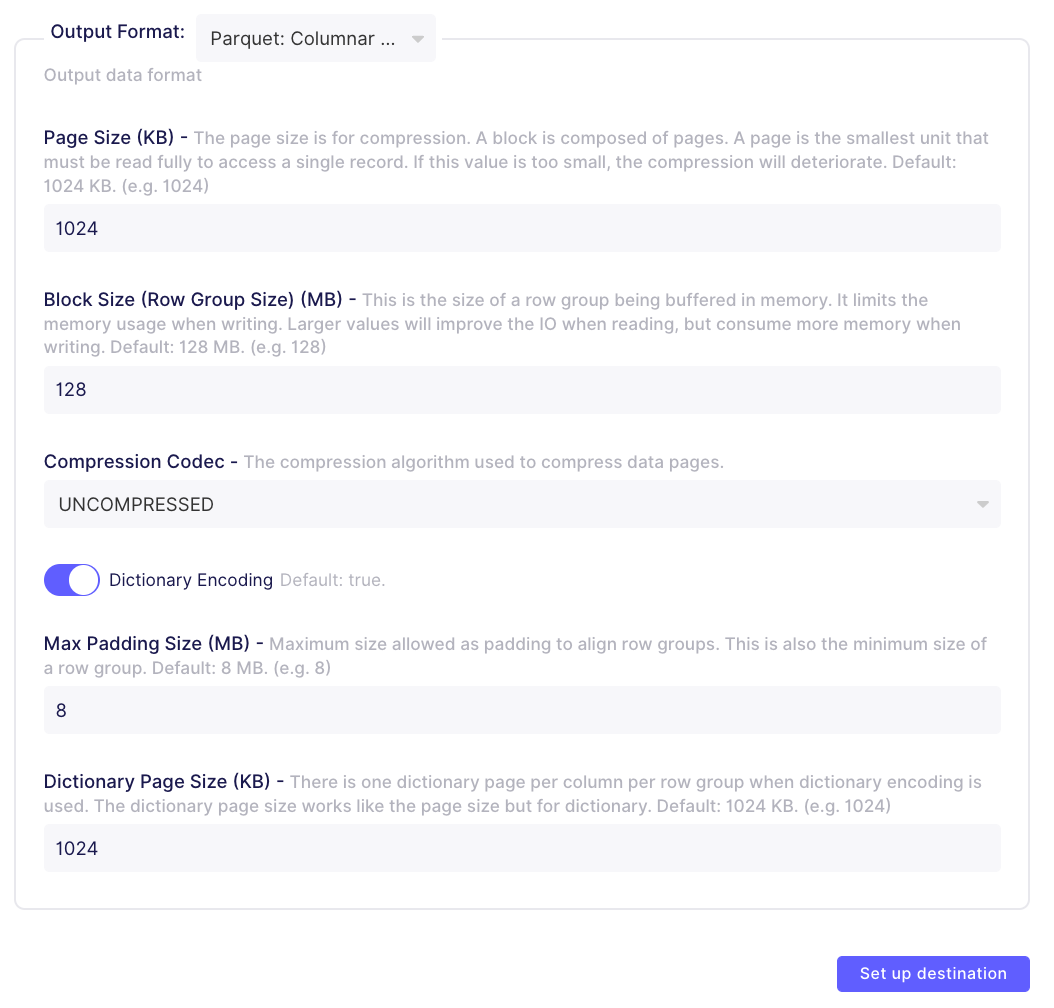
Head over to the Destinations tab in the left sidebar and follow the same process for setting up our connection to S3. Click on +New Destination and search for S3. Then fill out the configuration for your bucket. We’ll now use that access key that we generated earlier!

For output format, I recommend using Parquet for analytics purposes. It’s a columnar storage format, which is optimized for reads. JSON, CSV, and Avro are supported, but will be less performant on read.
The connection #
Finally, head over to the Connections tab in the sidebar and click +New Connection. You will need to do this process for each data source that you have set up. Select any existing source and click your S3 Destination that you set up from the drop down. I failed to set up a connection with my GitHub source, so I navigated to the Airbyte Troubleshooting Discourse and filed an issue. Response times are really fast there, so I’ll likely be able to resolve this within a day or two.
You will then be greeted with the following connection setup page. For most analytics jobs, syncing more frequently than every 24 hours is expensive and overkill, so stick with the default. For sources that support it, click on the sync mode in the streams table to use the Incremental / Append sync mode. This ensures that every time you sync, Airbyte will check for new data and only pull in data that you haven’t synced before.
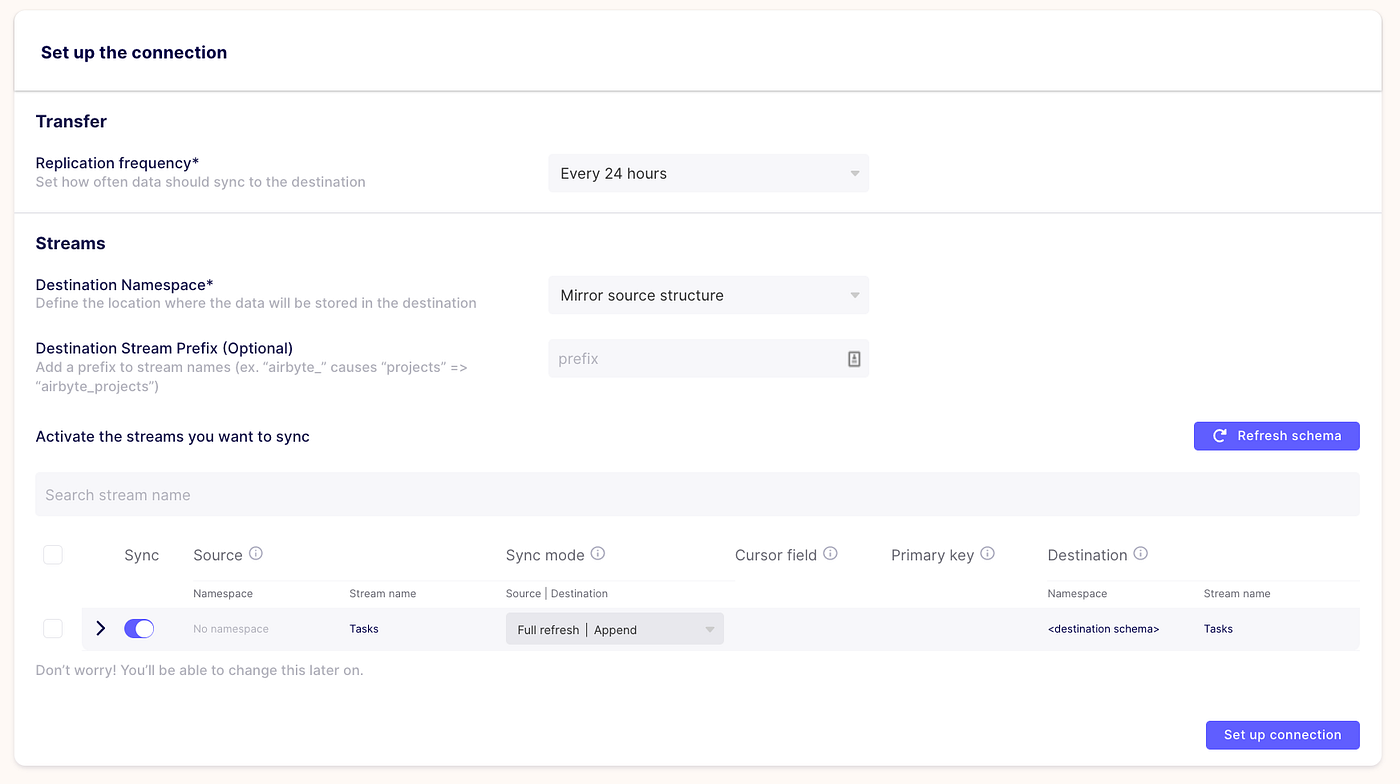
Once you hit Set up connection, Airbyte will run your first sync! You can click into your connection to get access to the sync logs, replication settings, and transformation settings if supported.
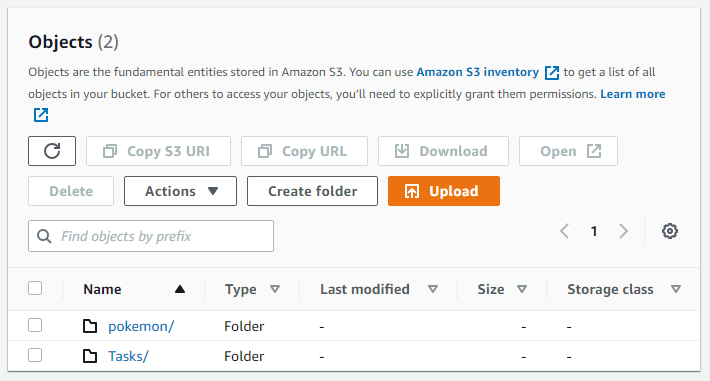
Checking our S3 bucket, we can see that our data has successfully reached! If you’re just testing things out, you’re done.
The analysis #
Now that you’ve set up your data pipelines, if you want to run transformation jobs, Trino enables that use case well — Lyft, Pinterest, and Shopify have all done this to great success. There’s also a dbt-trino plugin managed by the folks over at Starburst. Alternatively, you could also accomplish this using S3 Object Lambda if you want to stay within the AWS landscape when possible.
Once your data is in a queryable state, you can now use Trino or your favorite query engine to your heart’s content! If you want to get started with querying these heterogenous data sources using Trino, here’s a getting-started guide on how to do that. Finally, join the Airbyte and Trino communities to find more about how others are consolidating and querying their data.